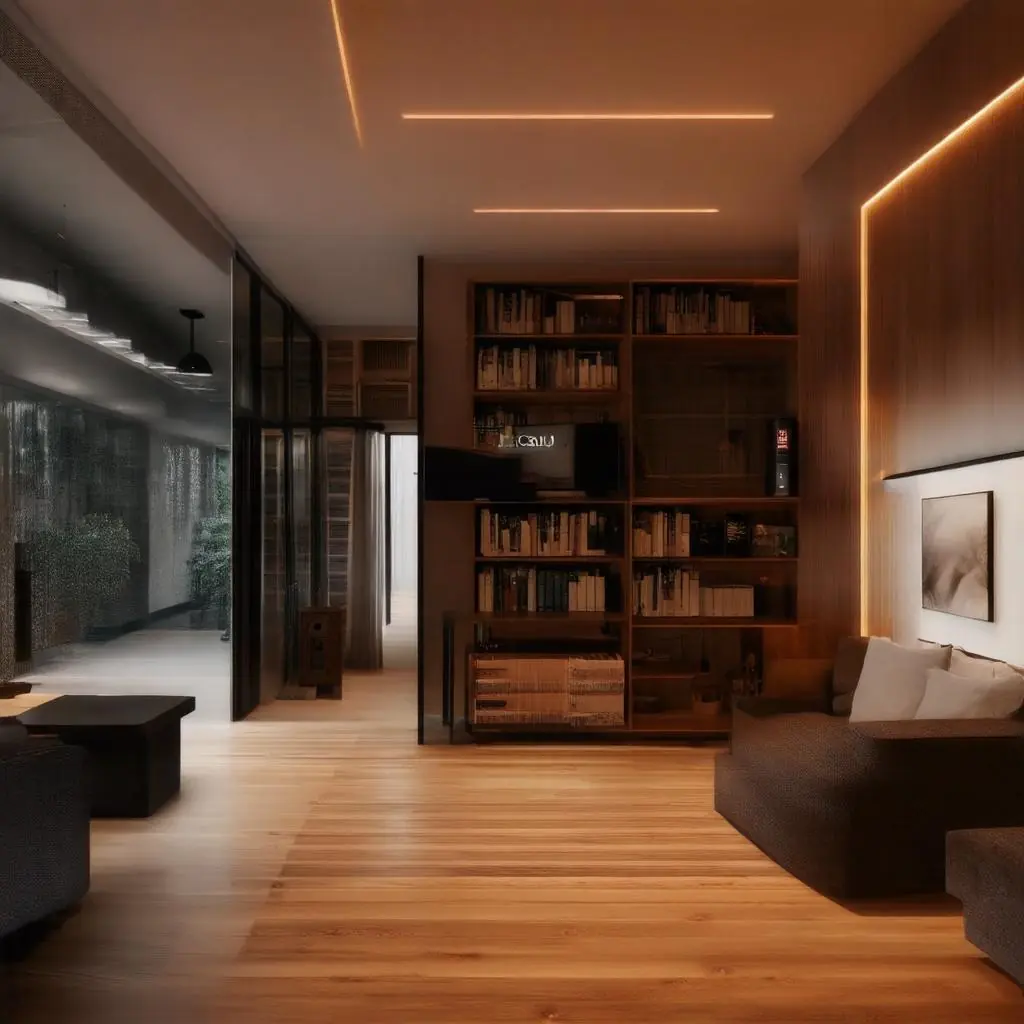
Most “smart homes” are rule engines: fixed schedules, simple triggers and scenes. An intelligent environment goes further, blending occupancy, time of day and activity to decide what should happen and when. Rather than “turn lounge lights on at 18:00,” an intelligent system asks: who is present, what are they doing, what is the ambient light level and what is our quiet-hours policy?
Key principles:
- Context, not just triggers. Combine presence state, ambient lux, calendar signals and device usage (e.g., TV on, workstation active) to infer intent.
- Progressive automation. Start with gentle assistance—subtle lighting fades, pre-warming a room—then offer deeper automation once patterns are well understood.
- Graceful fallbacks. If a sensor goes offline or a cloud API fails, the home must remain usable. Critical functions should run on local controllers with:
- Default schedules stored on-premises.
- Manual overrides via physical keypads and touch dashboards.
- Simple modes (Away, Night, Guest) that degrade vertically, not horizontally—fewer features but the essentials always work.
- Privacy by design. Handle presence inference and heating optimisation on local processors where possible; share only what is necessary for remote access or weather/tariff data.
A resilient architecture typically places an edge hub or processor (for example, a Crestron control processor) at the core, with standards-based devices at the edge. Cloud services become an augmentation, not a dependency. This approach serves homes, modern offices and creative studios that demand both comfort and uptime.
Presence Sensing and Zonal Control: Technologies, Placement and Interaction
Presence is the foundation for context. No single sensor is perfect; a robust design blends two or more to reduce false positives and catch edge cases like people sitting still or pets moving.
Common technologies and design guidance:
- mmWave radar (e.g., 60 GHz)
- Pros: Detects micro‑motion; excellent for seated/typing occupants; can filter pets by distance/height; rapid wake for lighting and media.
- Cons: Typically mains‑powered; requires tuning to avoid bleed across spaces; costlier than PIR.
- Placement: Ceiling-mount 2.4–3.0 m high, centred in the activity zone; use beam maps to avoid spill into corridors.
- PIR (passive infrared)
- Pros: Low-cost; long battery life; reliable motion trigger for entry paths.
- Cons: Struggles with still occupants; prone to false triggers from sunlight or HVAC.
- Placement: 2.1–2.4 m high, corner or corridor view, 10–15° downward tilt; avoid direct sunlight and heat sources.
- Door/pressure sensors (reed contacts, pressure mats)
- Pros: Deterministic transitions; excellent for entry/exit logic and guarding open‑plan boundaries.
- Cons: Binary state; no dwell detection; pressure mats need careful concealment.
- Placement: Doors at handle side; mats under rugs at thresholds or desk chairs for “seated” confirmation.
- Camera‑free vision (thermal arrays, time‑of‑flight, structured light without image storage)
- Pros: Counts bodies and estimates position without capturing identifiable imagery; good for open‑plan and studios.
- Cons: Power‑hungry; careful alignment required; higher cost.
- Placement: Overhead, orthogonal to the activity area to improve segmentation.
- Bluetooth signal mapping (BLE beacons, device RSSI)
- Pros: Useful for room‑level presence using phones/wearables; inexpensive retrofits.
- Cons: Coarse accuracy; phones leave rooms without people; requires calibration and privacy controls.
- Placement: Beacons at 1.4–1.8 m; avoid clustering near metal or large appliances.
Design patterns to avoid false positives in open‑plan spaces:
- Sensor fusion: require concurrence between a movement sensor (PIR/mmWave) and a boundary event (door contact) or pressure mat for occupancy confirmation.
- Dwell and decay timers: introduce a short dwell before escalating to “occupied,” and use graduated timeouts based on activity type (longer for lounges/offices; shorter for circulation).
- Virtual partitions: ceiling‑mounted mmWave zones with reduced sensitivity at edges; pair with doorway sensors to “hand off” occupancy between areas.
- Pet filtering: use radar height gating or mat‑based confirmation in pet‑active households.
Power and interoperability:
- Battery vs. wired. PIR and door sensors work well on batteries (2–5 years). mmWave, thermal arrays and always‑on BLE gateways are best wired for reliability.
- Mesh reliability. Choose standards that support low‑power mesh and multi‑vendor ecosystems: Thread/Matter and Zigbee for sensors, BLE Mesh for beacons, and Z‑Wave (EU 868 MHz) where sub‑GHz penetration helps. Maintain adequate mains‑powered repeaters, plan channels to avoid 2.4 GHz Wi‑Fi, and document commissioning.
- Professional backbones. For larger sites, tie edge sensors into a professional control layer (e.g., Crestron) to orchestrate lighting, audio and HVAC without vendor lock‑in.
Presence‑based zones and interaction:
- Lighting, audio and heating should “hand off” as people move. For example, fade kitchen lights down as the lounge scene ramps up; transfer a Sonos or Nuvo stream to the study when you leave the media room; reduce UFH setpoint in vacated rooms.
- Quiet hours. Enforce softer scenes, reduced notification sounds and lower max volumes during night mode or meeting times.
- Guest and child modes. Provide simplified controls, reduced automation aggressiveness and safety limits (e.g., capped HVAC setpoints).
- Manual overrides. Engraved keypads with obvious scenes (Work, Relax, All Off) and touch dashboards for detailed control ensure confidence and acceptance across all users.
Adaptive Lighting That Feels Natural
Good adaptive lighting is invisible in the best way—comfortable, flicker‑free and always appropriate to the task.
Core elements:
- Circadian profiles. Blend correlated colour temperature (CCT) and intensity through the day: cooler/brighter in the morning for alertness; warmer/dimmer in the evening for relaxation. Use DALI‑2 DT8, tunable‑white drivers or high‑quality RGBW fixtures where suitable. Honour exceptions for task areas (kitchens, studios) during extended work.
- Smooth fades. Human‑perceived brightness is nonlinear; use gamma‑corrected curves and scene fades of 300 ms to several seconds to avoid abrupt jumps. Where supported, use logarithmic dimming curves in fixtures or drivers.
- Safe dimming curves. Ensure drivers support deep dimming without steps; set low‑end trims per channel to prevent drop‑out and colour shift at very low levels.
- Avoid visible flicker. Specify drivers with high‑frequency modulation (>1.5 kHz PWM or flicker‑free CCR) and compliance with IEEE 1789 guidance to minimise temporal light artefacts. Test with high‑speed video for critical areas (studios, edit suites).
- Colour consistency and beam quality. Use fixtures with tight binning, high CRI/TM‑30 where colour rendering matters, and appropriate optics to avoid glare. Incorporate ambient light sensors to cap output when daylight is abundant.
Reactive effects, judiciously applied:
- Media rooms and studios benefit from reactive cues—bias lighting that adapts to content, or status‑driven effects for recording/live indicators—provided they are bounded by comfort rules (no rapid strobing, capped intensity, automatic return to baseline after sessions).
- Tie effects to presence and activity to avoid unwanted behaviour if someone enters mid‑session.
Integrators can expose simple daily presets on keypads—Energise, Focus, Unwind—while the system continuously adapts in the background. Professional ecosystems (e.g., Crestron lighting, DALI gateways, or DMX for creative spaces) provide precise, synchronised control across mixed fixture types.
Heating That Anticipates You: Underfloor Intelligence and Privacy‑First AI
Underfloor heating (UFH) offers exceptional comfort but significant thermal inertia. Intelligent control bridges that gap, delivering warmth precisely when and where it is needed without energy waste.
Protecting finishes and designing for comfort:
- Floor temperature limits. Respect manufacturer guidance—engineered wood typically ≤27 °C at the surface; some adhesives and finishes require lower caps. Use floor sensors to enforce hard limits while managing ambient targets.
- Sensor selection and placement.
- In‑floor (NTC) sensors: best for protecting finishes and managing inertia; install in a conduit within the screed near the upper third, away from loops to avoid hotspots and enable replacement.
- Ambient sensors: wall‑mounted at 1.4–1.6 m, away from direct sun or draughts, to reflect perceived comfort. Combine with in‑floor sensors for dual‑loop control.
- Ramp rates and setbacks. Define per‑zone ramp rates (e.g., 1–2 °C/hour) and intelligent setbacks rather than full off, to avoid overshoot and long recovery times. Heat pumps benefit from steady, lower‑grade operation; boilers may use quicker ramps with modulation.
AI‑optimised schedules, locally executed:
- Learning from occupancy. Build probabilistic models of presence per zone and day‑type, then pre‑heat only when likelihood exceeds a threshold. Adapt quickly to holidays and guest stays via mode switches.
- Weather and building response. Use forecast data and learned thermal characteristics to start earlier before cold fronts, or delay when solar gain is expected.
- Energy tariffs. For time‑of‑use pricing, pre‑charge thermal mass during lower‑cost windows while respecting comfort bounds and floor limits.
- Privacy‑first. Run optimisation on an on‑premises controller; share only tariff and forecast inputs. Keep occupancy history local and anonymised.
Hydronic specifics:
- Balance manifolds, specify actuators with feedback, and log flow/return temperatures to validate performance.
- Integrate with heat source controls (e.g., OpenTherm or manufacturer APIs) to coordinate setpoints and avoid short‑cycling.
- Commission safety interlocks: over‑temperature cut‑outs, pump overrun, and valve exercise routines to maintain reliability.
All critical schedules and modes should persist locally with a manual “Comfort/Hold” option on keypads and dashboards to reassure users that they remain in control.
Studio and AV Workflow, Standards and the Implementation Roadmap
Creative workspaces and hybrid homes blend living, work and production. Clean signal flow and intuitive control are as important as presence and lighting.
Studio/AV workflow essentials:
- Submixers and routing. When interfaces run out of inputs, use a compact submixer or DSP to combine microphones and instruments, feeding a single, labelled return into conferencing or streaming gear. For larger systems, an audio matrix or Dante network separates capture from distribution.
- Independent audio zones. Divide open spaces into controllable zones (edit suite, lounge, kitchen) so background audio never interferes with monitoring. Presence can fade non‑critical zones automatically during calls or recording.
- Clear labelling and documentation. Label rack fronts, wall plates and virtual routes; mirror labels in the control UI. Provide “safe scene” recalls to recover from misrouting with one press.
- Device QoS and networks. Prioritise AV traffic, segregate VLANs for control, and use wired backbones for fixed endpoints; reserve Wi‑Fi for mobiles and tablets.
Selecting interoperable standards:
- Lighting: DALI‑2 for reliable tunable‑white and group control; DMX for creative effects; Matter/Thread or Zigbee for retrofit luminaires and sensors.
- Control: A professional backbone such as Crestron to unify scenes, presence and HVAC, and to integrate leading audio brands like Sonos and Nuvo across zones.
- Sensors: Thread/Matter, Zigbee and BLE Mesh for low‑power devices; KNX or BACnet in commercial environments where required.
- Audio: IP‑based distribution (e.g., Dante) for studios; consumer multiroom (Sonos/Nuvo) for living spaces—both orchestrated by the control layer.
Implementation roadmap:
- Site audit. Survey RF environment, fabric and glazing, network topology and existing plant (boilers, heat pumps, manifolds). Identify wiring opportunities and retrofit constraints.
- Design and specification. Define use‑cases per space; select sensors and fixtures; plan circuits, drivers and backboxes; choose interoperable standards; specify engraved keypads and dashboard layouts early.
- Edge vs. cloud strategy. Keep time‑critical logic (presence, safety, lighting fades, HVAC) on the edge; use cloud for remote access, notifications and data enrichment (forecasts, tariffs).
- Prototyping and testing. Bench‑test sensors and drivers; validate flicker and dimming curves; simulate occupancy patterns; soak‑test mesh stability and failover behaviours.
- Commissioning. Calibrate sensors, tune dwell/decay per room, set UFH ramp rates and floor limits, and record as‑built documentation. Train users and set expectations for modes and overrides.
- Maintenance and optimisation. Monitor device health, schedule firmware updates in maintenance windows, review analytics to refine scenes, and offer periodic re‑tuning as lifestyles change.
Outcome and professional value:
- Done well, presence‑driven control, adaptive lighting and AI‑optimised heating deliver palpable comfort, lower energy use and a simpler daily routine. The difference is in the details: sensor fusion, placement, dimming curves, floor protection and robust fallbacks.
- A professional integrator unifies these threads—engineering the network, selecting trusted brands, building resilient control logic and crafting interfaces people actually enjoy using. For projects across London, Essex, Suffolk and nearby regions, a bespoke approach backed by platforms such as Crestron and multiroom ecosystems like Sonos and Nuvo ensures seamless integration today and flexibility for tomorrow, with options to keep control and data on‑premises.